Herringbone stitch to the rescue: repair a torn sail by yourself
On average, a sail has a life expectancy of ten years. But once torn, your sail may not last much longer.
Have you ever been stuck with a tear in your sail and not known what to do about it? How do you go about repairing it yourself? Can you sew it, and most of all how?
Thanks to our video tutorial about the herringbone stitch, let’s see how you can best repair a tear in your sail.
Repair yourself or call in a sailmaker?
You’ve just realized that your sail is torn and you’re wondering if you can repair it yourself? It is indeed possible to repair it, if the tear in your sail is no more than a few centimeters or inches long, as long as it’s not in a critical spot. If the tear in your sail is too serious, you will need to contact a sail loft. They will most certainly be able to repair it.
The best thing about repairing your sail by yourself is that you won’t have to remove it and put it ashore. It’s much less of a time-consuming hassle. If there is no sail loft close by, being able to repair by yourself is also useful and a matter of safety. Last but not least, such a repair is not necessarily the most interesting job for your professional, and the bill may seem high in relation to the number of stitches done.
If you are able to have repairs made by an expert, though, it’s an opportunity to carry out a complete maintenance of your sail. We can only recommend that you have it done at regular intervals.
Stitching a herringbone stitch
Now that you’ve decided to sew your sail yourself, how do you go about it? Which stitch to use? We suggest a simple, strong stitch: the videlle. Please refer to our video tutorial for a better understanding of how the thread is sewn.
First of all, to ensure that the seam is locked, start off with simple straight stitches. After each stitch, tighten the thread to bring both sides closer together. Once these few stitches have been completed, you’ll be able to start stringing herringbone stitches together.
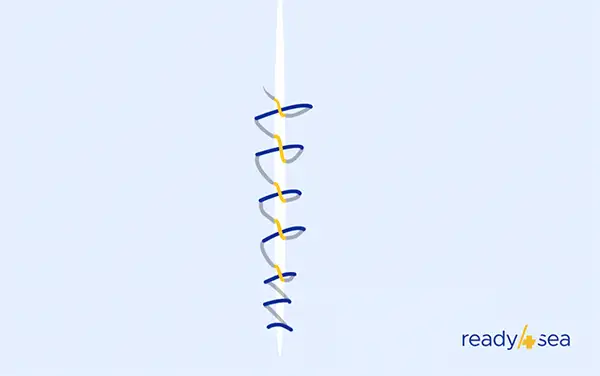
To sew a herringbone stitch, start with a straight stitch. The magic happens on the return stitch (on the reverse side). Thread your needle through the snag and over the thread you’ve just sewn. Then head back through the tear and continue to the back. You can repeat this process several times. Don’t forget to pull the thread tight at each stitch. This way the gap will close off.
When you’ve reached the end of your tear, you can again make a few straight stitches to lock your thread completely.
Strengthening your herringbone stitch
Once you’ve repaired your sail with several herringbone stitches, it should hold. However, the repair could be damaged, due to chafing in particular, or if the thread of your herringbone snags somewhere.
To ensure that the repair remains in place, we recommend that you consolidate your stitches. To do this, apply an insignia fabric patch over cover your repair, with some margin around it. For an extremely strong and durable repair, we even recommend two patches, one on each side of the sail.
You can leave the repair as it is, but the patches may peel off. That’s why the ultimate fix simply involves sewing around the patches to ensure they stay in place. To be on the safe side, you’ll still need to have your sail professionally mended at a sail loft. But a sail repaired with a herringbone and two patches can cover thousands of miles. This type of repair is very robust indeed!
Subscribe to our monthly newsletter to receive tips on keeping your boat in good health.
Ready to catch the wind?
To wrap things up, in the event of a minor tear, you can now set about repairing it with complete peace of mind. It’s all part of caring for your sails so they can last longer.
With the help of our instructions, and by following our the video animation, you now know how to make a herringbone repair. Finally, if you want to consolidate your fix as much as possible, add one or two patches on top of your herringbone and sew them in place to create an ironclad reinforcement. Now you’re ready to go!